For the white chocolate mousse, place the white chocolate and butter in a medium bowl, with a strainer placed over it. Heat the milk to just below a simmer. In a separate bowl, whisk the yolks, sugar and cornflour together. whisk the hot milk into the egg mixture gradually, whisking while adding. Return this to the pot and continue to whiskover medium heat until glossy and thickened, about 4 minutes then stir in the softened gelatin. Pour this through the strainer and stir until the chocolate and butter has melted. Cool the chocolate mixture to room temperature.
Melt the chocolate in a metal bowl, placed over a pot of barely simmering water, stirring gently until melted. Remove the chocolate from the heat.
Dip the balloons halfway into the chocolate on a angle, and lift and rotate as dipping repeatedly, creating a tulip shape. Shake off excess chocolate and place each balloon onto the parchment-lined tray. Chill the balloons until the chocolate has set.
Use a pin to gently pop the balloon and let the air out slowly. Lift the balloon out of the cup and discard. Pipe the white chocolate mousse into the cups and top with raspberries or chocolate shavings. Chill until ready to serve.
Method
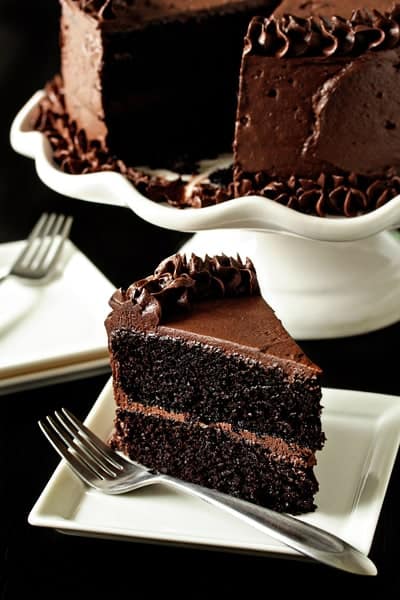
How to make Rich Chocolate Mousse Cake
1. For the cake, preheat the oven to 160°C. Grease 2 8-inch round cake pans, line the bottoms with parchment paper and then lightly dust the sides of the pan with flour, tapping out any excess. *Please note that only 1 cake layer is needed for this recipe, but it is easiest to make this recipe in its full measure and freeze the second cake for a later use.
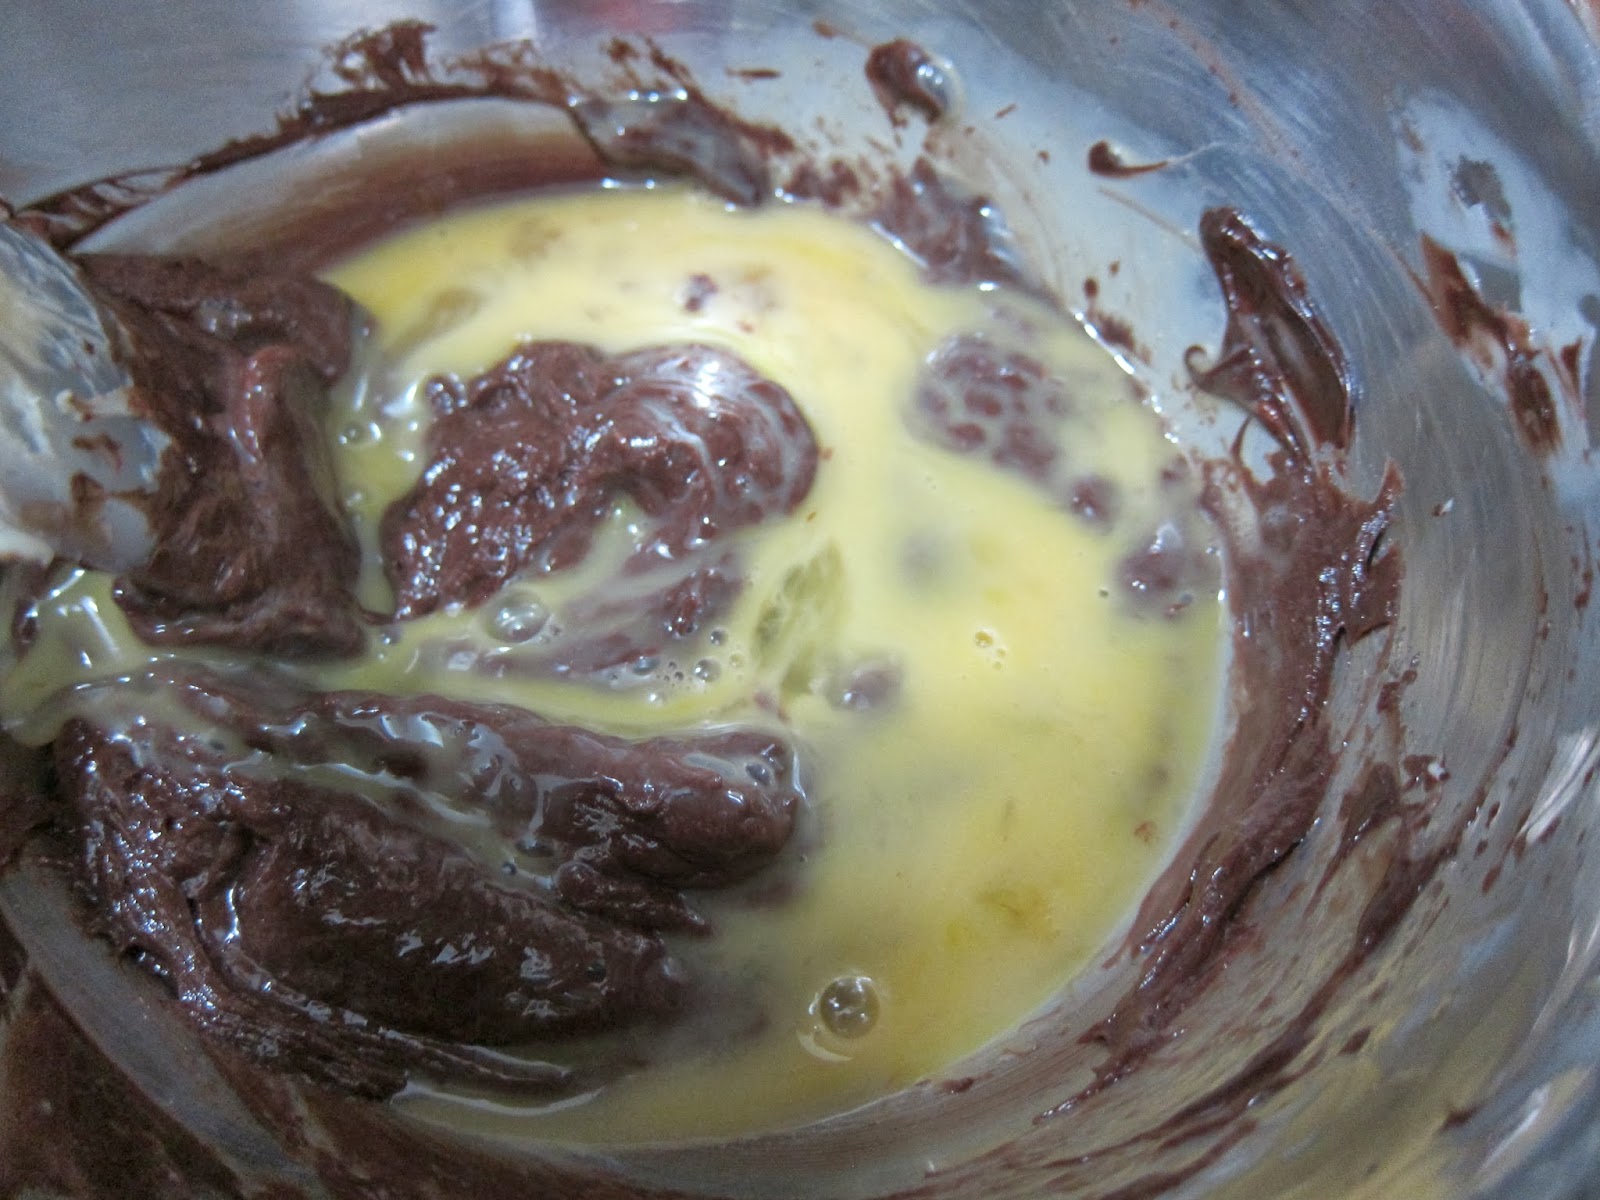
2. whisk the boiling water, chocolate and butter together until melted (it will be visibly grainy) and set aside.
3. whip the egg, sugar and vanilla until the mixture doubles in volume (about 2 minutes on high speed) and then fold in the chocolate mixture by hand.
4. Sift the flour, baking powder, baking soda and salt over the batter and fold in, then stir in the hot coffee (this will make the batter become fluid). Divide the batter evenly between the 2 pans.
5. Bake the cakes for about 25 minutes, until a tester inserted in the centre of the cake comes out clean. Allow the cakes to cool completely in the pans.
6. For the mousse, have ready a 9-inch springform pan, lining the bottom with parchment paper (in order to make the mousse-filled cake easier to remove from the pan). whip 360ml of the whippingcream until it holds a medium peak when the beaters are lifted and chill.
7. Heat the remaining 360ml of cream to just below a simmer and then pour it over the chopped chocolate. Let this sit one minute, then gently stir until incorporated. Set aside.
8. Place the egg yolks in a bowl and whip for a minute on high speed. Place the sugar and water in a small saucepot over high heat and boil (occasionally brushing the sides of the pot with water) until it reaches 120°C on a candy thermometer. Start whipping the egg yolks on medium speed and then carefully pour the hot sugar down the side of the bowl to avoid splashing, and then increase the mixer speed until high and whip until this has doubled in volume and cooled to about 40°C (just above body temperature).
9. Measure the temperature of the ganache to ensure it is close to 40°C as well, and fold the ganache into the whipped yolks. Let this cool for 15 minutes, or until just above room temperature, then fold in the chilled whipped cream in 2 additions.
10. Pour half of the mousse into the ungreased springform pan. Sliceone of the cake layers in half horizontally and place this over the mousse, as centred as possible. Pour the remaining mousse over the cake layer and gently place the other half of the cake layer on top, pressing gently just so the mousse covers the sides of the cake, but not so that it sinks in. Wrap the pan in plastic wrap and freeze the cake to set it, at least 4 hours, or overnight.
11. While the cake is setting, prepare the glaze. Bring the water, sugar, and cream to a boil in a medium saucepot. Once boiling, whisk in the cocoa powder and simmer (reducing the heat if needed) for 4 minutes, stirring often, (the consistency will not change). Remove from heat. Soften the gelatin in 60ml of cold water and then whisk this into the hot cocoa mixture until dissolved. Cool the glaze to room temperature, then chill completely, at least 3 hours.
12. To finish the cake, remove it from the freezer invert the pan onto a cooling rack placed over a parchment-lined baking tray. Use a hair dryer on a low, hot setting to gently warm the pan so that it releases from the pan, the sides first and then the top. Warm the chilled glaze while whisking occasionally until just melted and smooth and pour this over the torte, spreading gently with a spatula to ensure that it covers the top and sides of the torte evenly. Chill the cake for at least 30 minutes, then lift it onto your presentation plate and store chilled until ready to serve.
13. The cake will keep, refrigerated, for up to 4 days.
Ingredients
For the cake:
- Cooking spray
- 2 3/4 cups plain flour, spooned and leveled, plus more for dusting the pans
- 1 1/2 cups granulated sugar
- 3/4 teaspoon bicarbonate of soda
- 1/2 teaspoon fine salt
- 1/4 cup very hot water
- 2 tablespoons unsweetened cocoa powder
- 1 cup milk
- 2 tablespoons white distilled vinegar
- 1 1/4 cups vegetable oil
- 2 large eggs, at room temperature
- 1 teaspoon pure vanilla extract
- One 1-ounce bottle red food coloring (about 2 tablespoons)
For the frosting:
- Two 8-ounce packages cream cheese, softened
- 1 1/2 sticks (12 tablespoons) unsalted butter, softened
- 1 teaspoon pure vanilla extract
- Pinch fine salt
- 3 cups icing sugar
- 1 tablespoon milk, if needed
Method
How to make Red Velvet Cake
1. For the cake: Position an oven rack in the middle of the oven, and preheat to 350 degrees F. Coat two 9-inch round cake pans with cooking spray; dust with flour, and tap out the excess.
2. Whisk together the flour, granulated sugar, baking soda and salt in a medium bowl; set aside. Stir together the hot water and cocoa powder in a small bowl until smooth; let cool slightly. Stir together the milk and vinegar in another small bowl, and let stand until thickened, 3 to 5 minutes.
3. Whisk together the oil, eggs and vanilla in a large bowl until smooth. Whisk in the red food coloring and the cocoa mixture. Alternate whisking in the flour mixture in three additions and the milk in two, starting and ending with the flour, until just combined. Divide the batter evenly between the prepared pans.
4. Bake until a toothpick inserted in the center comes out clean, about 30 minutes. Let cool for 10 minutes in the pans, turn out onto cooling racks and let cool completely.
5. For the frosting: While the cake layers are cooling, beat the cream cheese, butter, vanilla and salt with an electric mixer on medium speed in a large bowl until smooth and fluffy. Gradually beat in the icing sugar until smooth. Increase the speed to high, and beat until very fluffy and there is no gritty texture left from the sugar. Beat in the milk to adjust the consistency if the frosting seems too thick.
6. To assemble: Place one cake layer bottom-side down on a cake plate. Top with 1 cup of the frosting, and spread to the edge. Top with the second layer, and frost the top and sides with the remaining frosting. If the frosting becomes too soft while assembling the cake, briefly chill the cake and frosting and then finish frosting.
7. You can bake the cake layers the day before assembling and serving the cake; wrap them in plastic wrap and then foil, and store at room temperature. Or you can bake and assemble the cake the day before, refrigerate it overnight and let stand at room temperature for a few hours before serving.